Color Grading vs. Color Correction: What's the Difference?
Stop confusing filters with a workflow. Learn the crucial difference between color correction (the mandatory technical fix) and color grading (the optional creative mood) to make your video ads look high-converting and professional
Color Grading vs. Color Correction: What's the Difference?
What is the difference between color grading and color correction?
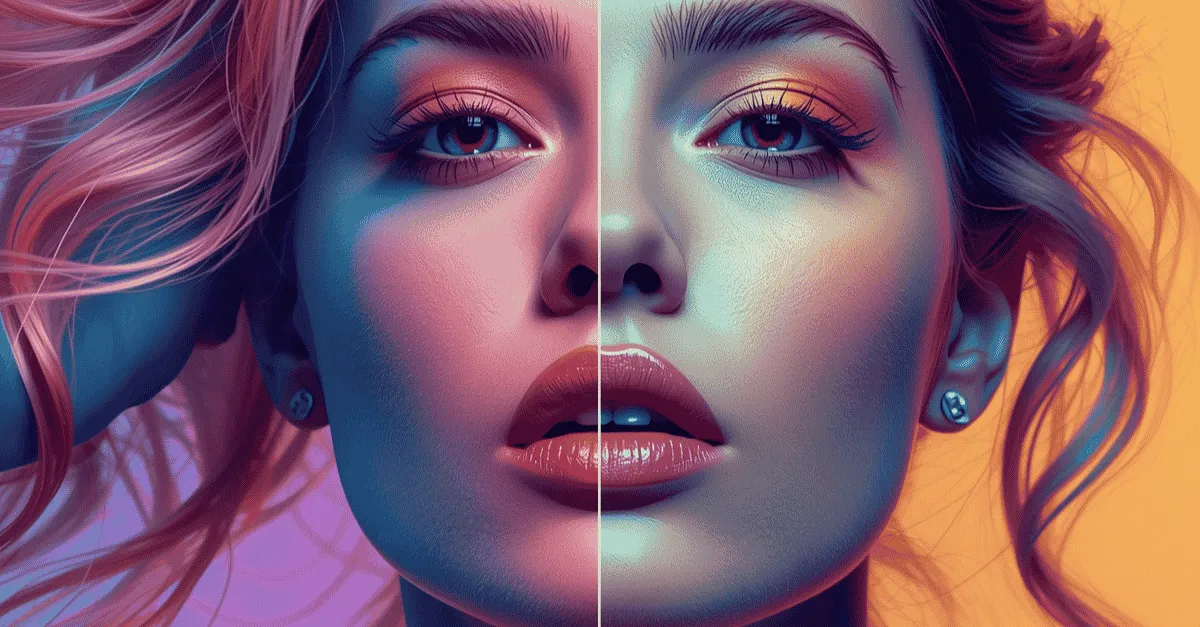
Color Correction is a mandatory technical process. It involves fixing raw footage to look exactly as the human eye sees it in real life. This includes adjusting exposure, fixing white balance, and removing unnatural color casts (like a green tint from fluorescent lights). Color Grading is an optional but highly recommended creative process. It happens after correction and involves altering the image's hues to evoke a specific psychological mood or align with a brand's visual identity (e.g., adding a warm, golden tone for a summer lifestyle brand).
Rule to follow: You must technically correct the image before you creatively grade it.
Let's discuss this topic further in this blog post.
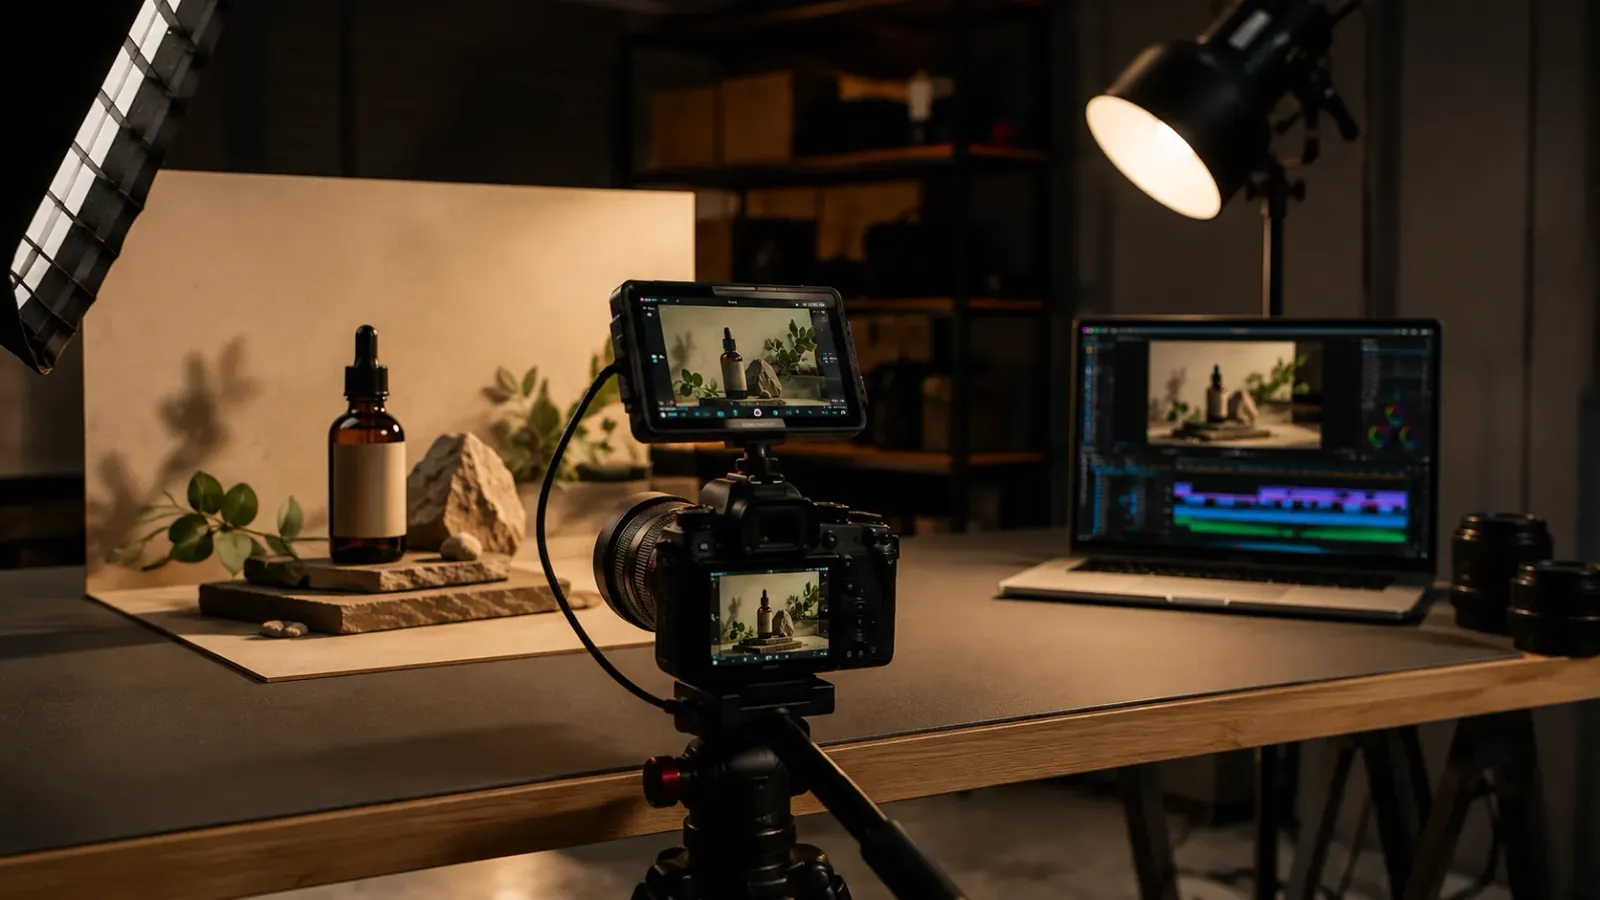
You invested in a high-end 4K mirrorless camera. You set up the expensive softbox lighting in your office. You hit “record” and delivered the perfect pitch for your new product. But when you transfer the file to your computer and hit play, your heart sinks.
The video looks flat. The colors are washed out. The shadows look milky gray, and your skin has a sickly, greenish hue. It looks nothing like the crisp, vibrant advertisements your competitors are running.
In a panic, you search the internet for a quick fix. You download a "cinematic filter" and slap it onto your timeline. Suddenly, the video goes from looking dull to looking completely destroyed. Your skin is neon orange, and the background is crushed into pure blackness.
This is the exact moment where most marketers and founders realize they are missing a fundamental piece of post-production knowledge. Understanding color grading vs color correction is the secret to making a $500 iPhone video look like a $50,000 studio commercial. They are not the same thing, and they cannot be done out of order.
Lighting sets the stage, but post-production sets the mood. If you want to stop publishing amateur-looking content and start building visual authority, you must understand the two-step pipeline of professional color workflows.
(This guide is a core educational component of our Complete Glossary of Video Editing Terms).
Step 1: What is Color Correction? ( Technical Baseline)
Color correction is the foundational step. It is not about making the video look "cool"; it is about making the video look accurate.
Every camera sensor interprets light slightly differently. Furthermore, unless you are shooting in a perfectly controlled Hollywood studio, your lighting conditions are likely flawed. The sun goes behind a cloud, the office overhead lights have a strange flicker, or your camera's auto-settings miscalculate the scene.
The goal of professional video color correction is true neutrality. It is the process of making white look perfectly white, black look perfectly black, and ensuring the image accurately reflects reality.
Fixing Exposure
The first step of correction is adjusting the luminance (brightness). If you filmed a subject in front of a bright window, the camera likely darkened the subject's face to compensate. A colorist must manually raise the shadows to reveal the face, or lower the highlights to fix underexposed video or overexposed backgrounds.
Fixing White Balance
Light has a temperature, measured in Kelvin. A standard lightbulb in your living room is very "warm" (orange/yellow), while an overcast sky is very "cool" (blue). If your camera's white balance was set incorrectly during filming, a white piece of paper in your video might look aggressively blue. Color correction counteracts this color temperature, pushing the image back to a neutral, pure white.
Protecting Skin Tones
This is the most critical metric in video marketing. The human brain is evolutionarily hardwired to recognize what healthy human skin looks like. If your subject's skin looks slightly magenta or green (often caused by cheap LED lights), the viewer's brain instantly registers the video as "cheap," "sickly," or "fake." You can have wild, neon colors in the background, but the skin tones must be technically corrected and protected at all costs to maintain viewer trust.
Step 2: What is Color Grading? (Psychological Overlay)
Once the image is technically perfect (exposure balanced, whites neutralized, skin tones protected) you can move on to the art. Color grading is the psychological overlay.
The goal of cinematic color grading is emotional resonance. It uses advanced color theory to manipulate how the viewer feels before the speaker even says a single word.
Warm vs. Cool Tones
Every choice in color grading sends a subconscious message to the consumer:
-
Warm Tones (Yellow, Orange, Red): These colors evoke feelings of nostalgia, energy, comfort, and approachability. This is why food brands, fitness influencers, and casual lifestyle apparel companies always push their videos toward the warmer end of the spectrum.
-
Cool Tones (Blue, Teal, Cyan): These colors evoke feelings of technology, isolation, sterility, and sleek luxury. If you are a B2B SaaS company, a medical clinic, or a high-end automotive brand, a cooler, crisper color grade signals authority and precision.
The "Teal and Orange" Hollywood Secret
If you have ever watched a Michael Bay movie or a top-tier YouTube creator, you have likely noticed that shadows often look slightly teal (blue-green), while highlights and faces look highly orange. This is not an accident; it is a mathematical manipulation of the color wheel.
Human skin naturally falls on the orange spectrum. If you look at a color wheel, the direct opposite (complementary) color to orange is teal.
Pushing the shadows into the teal spectrum in post-production allows a colorist to create maximum visual contrast. The background recedes, and the human face visually "pops" off the screen. This instantly creates a high-budget, cinematic look that holds viewer attention.
The Danger of "LUTs" (Look-Up Tables)
As the creator economy boomed, a massive industry sprang up around selling "Filters" or "Presets" for video. In the professional world, these are called LUTs.
What is a LUT?
A LUT (Look-Up Table) is essentially a complex mathematical preset used in editing software. It tells the computer: "Take every pixel that is this shade of blue, and remap it to this new shade of teal."
The Trap of the "Instagram Filter Mentality": The biggest mistake amateur editors make is assuming that applying LUTs in video editing is a one-click fix. They buy a $50 "Moody Cinematic LUT Pack" from their favorite influencer, drag it onto their raw, uncorrected iPhone footage, and expect magic.
Instead, the video looks muddy. Why? Because a LUT is a "dumb" mathematical formula. It assumes the footage it is being applied to is already perfectly exposed and white-balanced. If your raw footage is too dark, and you apply a LUT that also darkens shadows, your video becomes a black, unwatchable square.
The Correct Usage
A LUT is a finishing touch, not a magic wand. Professional colorists use LUTs all the time, but they use them after they have completed Step 1 (Color Correction). You must bake the cake before you apply the icing.
How Color Impacts Brand Trust and ROAS
In direct response marketing, every pixel must justify its existence. Color grading is not just about making things look pretty; it is a direct driver of ROAS (Return on Ad Spend) and brand equity.
Establishing Consistency
Consider your brand's visual identity. If a customer visits your website and sees a sleek, minimalist aesthetic with cool blue tones, they form an impression of your brand.
If they then see your video ad on Facebook, and it is heavily saturated, neon, and wildly warm, cognitive dissonance occurs. Their brain detects an inconsistency, which slowly erodes trust.
Locking in a specific, repeatable color grade for every single video asset helps you produce a visual signature. Over time, consumers will recognize your videos as yours before they even see your logo. Documenting this is a critical part of building your Brand Bible.
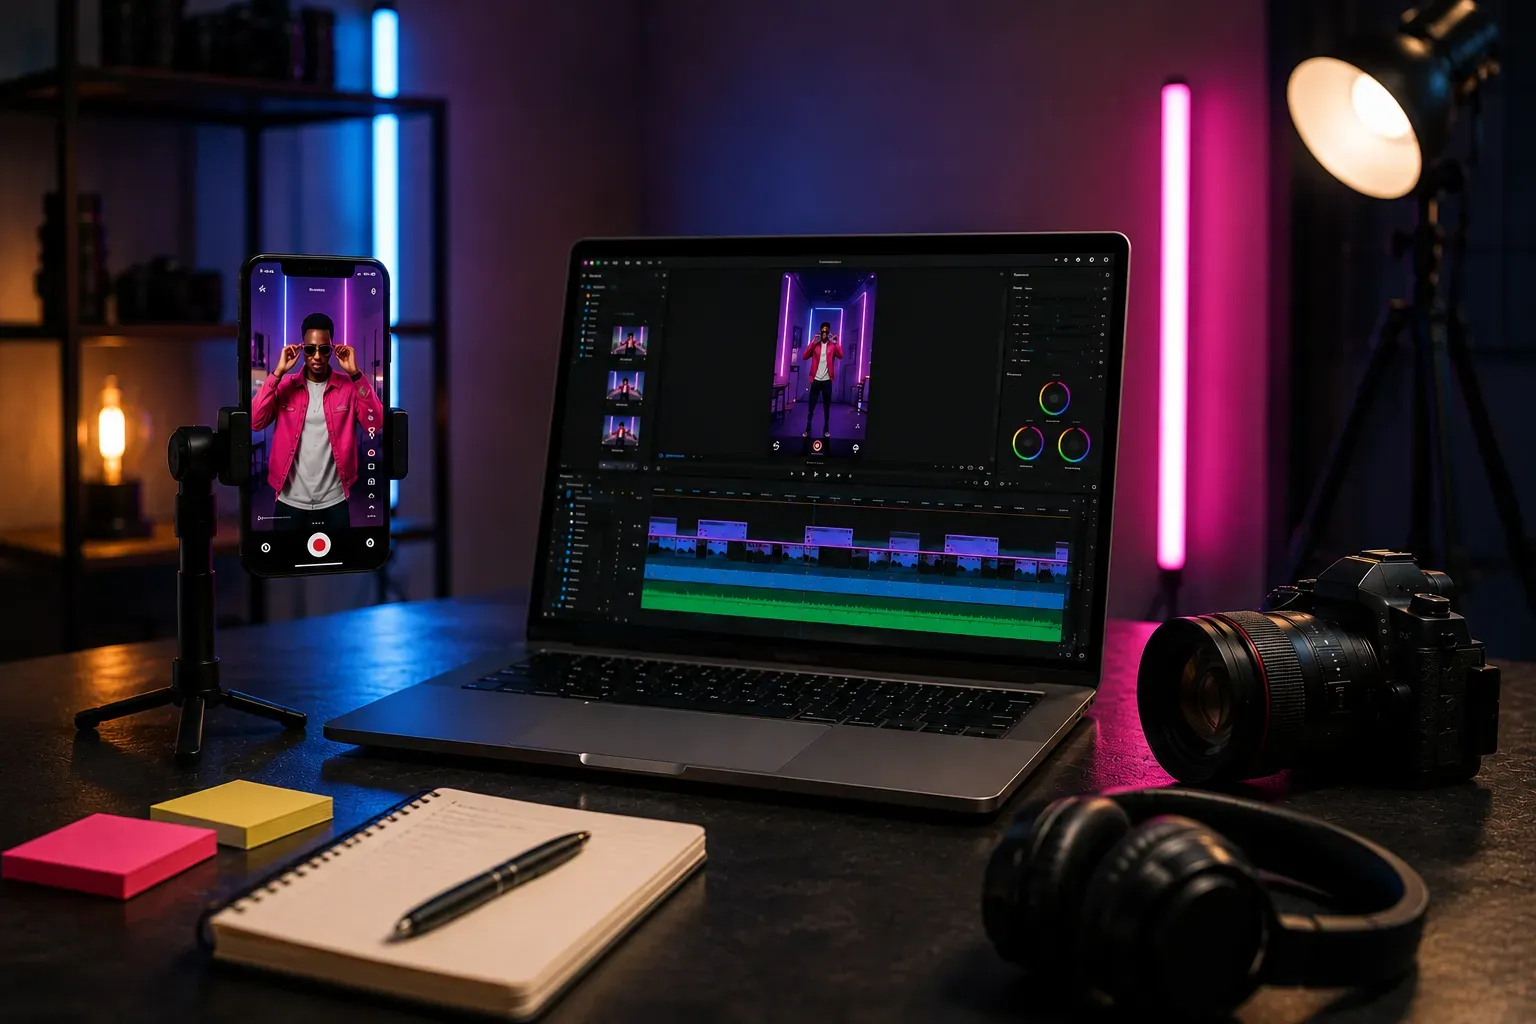
Scroll-Stopping Contrast
We use color psychology in marketing to control behavior. On mobile devices, users are scrolling through a sea of user-generated content that is often gray, flat, and poorly lit.
When your ad appears with a professional color grade( where the blacks are deep, the highlights are crisp, and the saturation is intentionally dialed in) it serves as a visual pattern interrupt.
The sheer optical quality of the video stands out against the dull background of the feed. This stops the scroll and buys you the crucial first three seconds of attention.
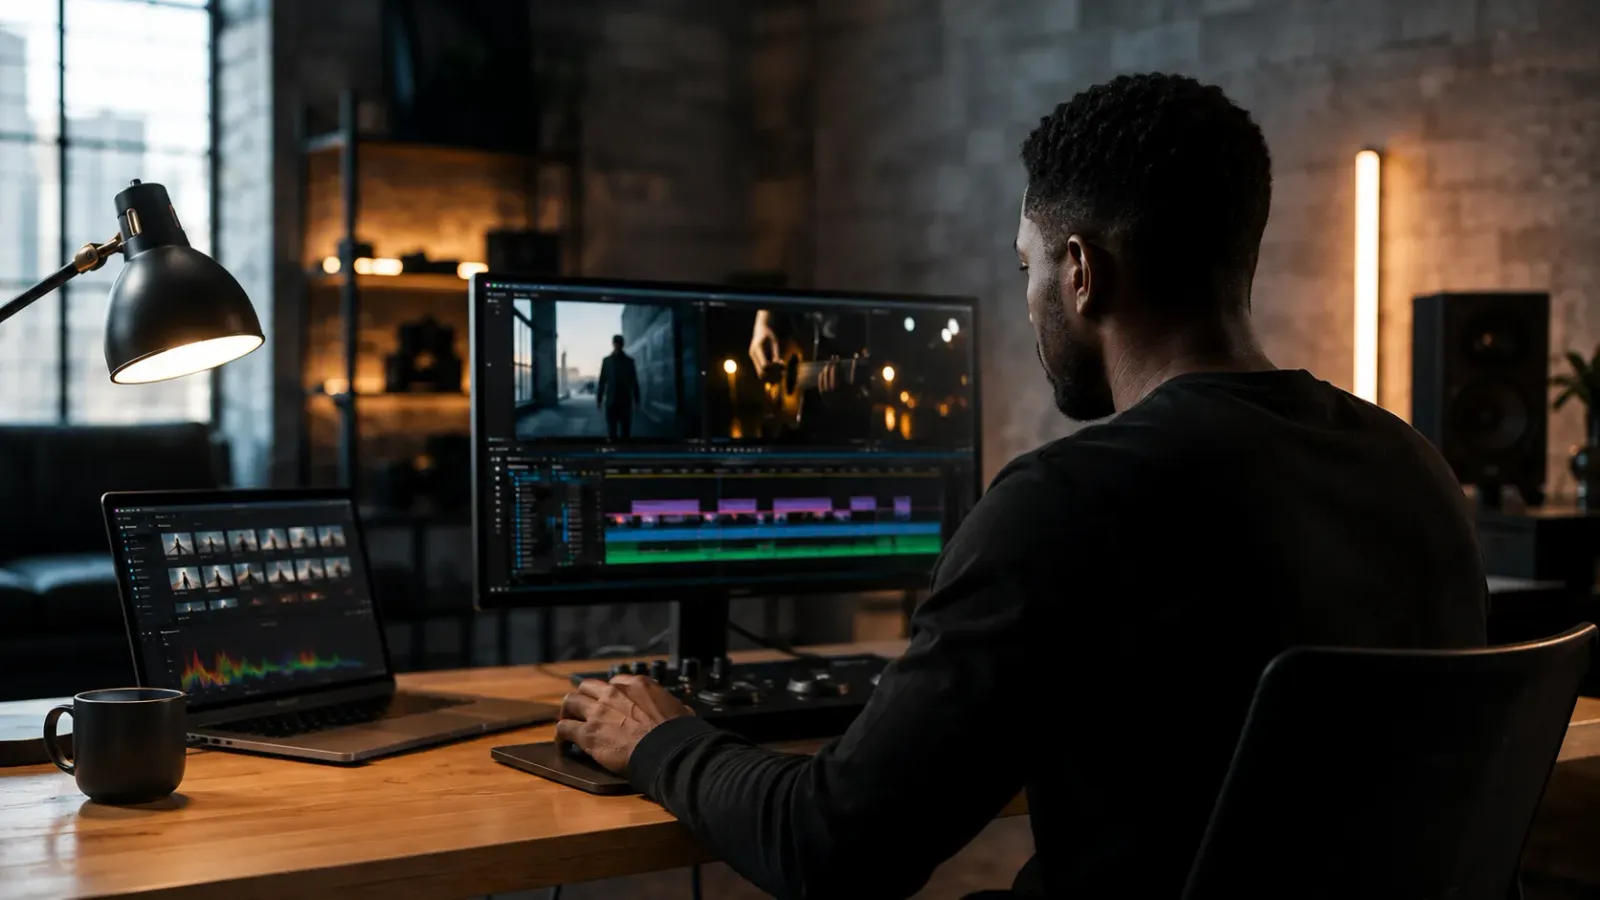
Editing Machine Workflow: Standardizing Visuals
You should not have to learn how to use DaVinci Resolve or Adobe Premiere's Lumetri Color panels to run a successful marketing campaign. The technical execution should be offloaded, but the strategic control should remain in your hands.
At Editing Machine, we have built professional color workflows directly into our operational DNA.
Baseline Promise
Every single video clip that passes through our post-production pipeline receives a mandatory baseline color correction pass. If your videographer shot the footage in a "Log" profile (which looks intentionally flat and gray to preserve data), our editors will scientifically restore the contrast, fix the white balance, and neutralize the skin tones. We never deliver raw, uncorrected footage.
Brand Profiles for Infinite Consistency
Through our native platform, you do not have to explain your color preferences on every single project. When you “onboard”, you can create specific "Brand Profiles."
You simply provide your exact brand hex codes, reference links, and preferred visual aesthetic (e.g., "Warm and approachable" or "High-contrast and moody").
Our editors then ensure that the final color grade of your video perfectly matches your established profile, guaranteeing consistency whether it is your first video or your fiftieth.
Frame-Accurate Review (Without the Mess)
If you do want to tweak a color(perhaps the background needs to be slightly less saturated) you don't have to write a confusing email saying, "At 1 minute and 4 seconds, can you make the blue wall less blue?"
Using the Editing Machine client portal, you simply pause the video, click directly on the blue wall within the frame, and type your feedback.
The feedback is time-stamped and geographically pinned to that exact pixel, ensuring the editor knows precisely what you mean. No third-party review tools, no endless email threads, just seamless execution.
Conclusion
Color correction fixes the errors; color grading tells the story. When you respect this order of operations, you elevate your content from simple "social media posts" into high-converting, professional-grade media assets.
Lighting and cameras will only get you halfway to the finish line. The emotional connection, the scroll-stopping contrast, and the ultimate brand trust are all forged in the edit bay through meticulous color workflows.
Stop settling for washed-out, inconsistent footage**.** You don't need to become a professional colorist to have world-class video ads. Submit your raw clips to Editing Machine, and let our editors bring your brand to life exactly as you envisioned it.
Create your account today and experience the difference a professional grade makes.
FAQs
Do I need to color correct every video?
Yes. Even if you shoot on an expensive mirrorless camera or the newest smartphone, auto-settings often misinterpret lighting conditions. Professional video color correction ensures that skin tones look entirely natural, shadows aren't artificially brightened or milky, and the baseline image is perfectly balanced before any stylistic or creative choices are made.
Can color grading fix bad lighting?
No. A pervasive myth in video production is that you can simply "fix it in post." While cinematic color grading can significantly enhance a well-lit shot and establish a mood, it cannot magically restore lost data in an entirely blown-out window (overexposed) or a pitch-black shadow (underexposed). High-quality lighting on set is absolutely required for an excellent color grade.
What is a LUT in video editing?
A LUT (Look-Up Table) is essentially a highly complex mathematical filter used in video editing software like Premiere Pro or Final Cut. It remaps the colors from your raw footage to a new, specific set of colors instantly. Professional editors use LUTs in video editing to quickly establish a baseline cinematic look or match footage from different cameras, but LUTs must be applied after foundational color correction, never before.
More from the Blog
Shopify Product Video: The Editing Checklist That Lowers Bounce Rate
Adding a video to your Shopify product page is not the same as adding a video that lowers bounce rate and increases conversion. Most product videos on Shopify are too long, start too slowly, and are not optimized for silent autoplay on mobile. This editing checklist covers every decision that separates a product video that converts from one that gets scrolled past.
Dedicated Video Editor Service: When a Subscription Beats a Full-Time Hire
Most businesses that are considering hiring a full-time video editor have not run the real numbers. When you include benefits, equipment, software licenses, desk space, and management overhead, a full-time junior editor in the US costs $65,000 to $80,000 per year in total. This guide runs the full cost comparison and identifies the output threshold at which a subscription service wins on economics.
TikTok Ad Creative: What the Top 1% Look Like in the Edit
The single most common mistake in TikTok ad creative is making it look like an ad. Over-produced visuals, logo animations, and clean brand voice immediately signal advertising to a platform audience trained to scroll past exactly that. This guide breaks down the editing decisions that make the difference between a TikTok ad that converts and one that gets scrolled past in under a second.
See if Editing Machine is the right fit for your content.
Take 90 seconds to tell us about your goals, content style, and volume. We'll show you which setup fits and exactly where to start.