YouTube Thumbnail Strategy: It Starts in the Edit
A masterpiece of a video effectively doesn't exist if nobody clicks on it to watch. Yet, most creators treat their visual packaging as a frantic, last-minute afterthought, relying on blurry, low-contrast screenshots taken from the final export. Discover why the most successful channels reverse-engineer their workflow, and learn how to empower your video editor to actively hunt, isolate, and color-grade viral thumbnail assets while they build the timeline.
YouTube Thumbnail Strategy: It Starts in the Edit
What is the best YouTube thumbnail strategy? A high-converting YouTube thumbnail strategy requires integrating the thumbnail design into the actual video editing workflow.
-
Concept First: Design the visual thumbnail concept before you even begin editing the video.
-
Isolate Moments: While cutting the timeline, actively isolate visually striking frames (high emotion, extreme contrast) to use as thumbnail assets.
-
Color Grading for Clicks: Apply high-contrast color grading specifically to these isolated frames so the subject pops against the background.
-
A/B Testing: Export 2 to 3 variations of these "thumbnail moments" to test which generates the highest click through rate upon publishing.
Every creator and brand founder knows this specific kind of heartbreak: You spend weeks conceptualizing a video. You spend hours filming it, making sure the lighting is perfect. You spend days in post-production meticulously crafting the narrative, polishing the audio, and dialing in the color grade. You finally hit "Publish."
And then... nothing. The algorithm flatlines. The video gets a fraction of your average views.
Your immediate reaction is to blame the algorithm or assume that the topic just wasn't interesting. But the harsh reality of the modern creator economy is that the algorithm didn't reject your video.
The audience rejected your packaging. They never even gave themselves the chance to see your brilliant editing or hear your perfect script because they never clicked.
If you want your high-quality content to actually be seen, you must realize that a great video with a bad cover image effectively does not exist. A holistic, high-converting youtube thumbnail strategy is the missing link between a great video and a viral video. And contrary to popular belief, this strategy does not happen after the video is exported. It is engineered actively, frame-by-frame, during the editing process.
(This strategic guide is a core component of our Video Production Education & Fundamentals).
What is The "Afterthought" Mistake ? (Why Screenshots Fail)
For the vast majority of amateur creators and corporate marketing teams, the thumbnail is an afterthought. It is a frantic, five-minute chore completed right before hitting the upload button.
Flawed Workflow
The amateur workflow looks like this: The editor spends 20 hours perfecting the video and exports the final MP4 file. The creator then opens that MP4 file, randomly scrubs through the video timeline, finds a moment where they aren't blinking, and takes a basic computer screenshot (Command + Shift + 4 on a Mac). They slap a line of text over it in Canva and upload it.
Cost of the Screenshot
This workflow is guaranteed to destroy your click through rate. First, video is inherently fluid. When you take a screenshot of a moving video, you capture motion blur. A frame that looks perfectly sharp when playing at 30 frames per second often looks completely out of focus when frozen as a still image.
Second, this method ignores the mobile reality. Over 70% of YouTube consumption happens on mobile devices. Your thumbnail is going to be displayed at the size of a postage stamp, competing against a feed full of highly engineered, hyper-saturated, custom-designed graphics.
A blurry, unedited screenshot of a mid-sentence facial expression simply does not have the visual contrast or intentional framing required to stop the scroll.
Reverse Engineering: Concept-First Workflow
The biggest YouTubers in the world(creators like MrBeast, Ali Abdaal, and Ryan Trahan) do not wait until the video is finished to think about the thumbnail. They design the thumbnail before they even turn the camera on.
Start with the Click
You must reverse engineer your workflow. The packaging must dictate the product. Before you send raw footage to your editor, you should already have a sketch or a clear concept of what the thumbnail will look like. Is it an extreme close-up of a shocked face holding a product? Is it a split-screen comparing a "Before" and "After" state?
Knowing this concept dictates how you shoot the video, and more importantly, it dictates how your post-production team edits the video.
Fulfilling the Visual Promise
The thumbnail makes a visual promise to the viewer. If the thumbnail shows a massive explosion or a specific shocking moment, the viewer clicks expecting to see that moment.
If your editor does not know what your thumbnail is, they cannot edit the video to fulfill that promise. If the thumbnail promises high-energy action, but the edit starts with a slow, boring 30-second introduction, the viewer experiences cognitive dissonance. They feel lied to, and they will click away immediately.
The thumbnail and the first 3 seconds of the edit must be perfectly aligned. (For a deep dive into this correlation, read our guide on Hook Rate Optimization: Editing for the First 3 Seconds).
Hunting for "Thumbnail Moments" in the Timeline
If you want to drastically improve your click performance, you must shift the responsibility of asset generation to the editing phase. Professional editors don't just cut footage; they actively hunt for visual assets.
Editor's Secret
When an editor is scrubbing through hours of raw A-Roll and B-Roll, they are uniquely positioned to spot micro-expressions. Because they are watching the footage frame-by-frame, they can identify the exact split-second where a facial expression conveys maximum emotion (shock, joy, confusion, or anger).
The algorithm heavily favors intense human emotion. Humans are biologically hardwired to look at faces and mirror the emotions they see.
Exporting High-Resolution Frames
Instead of the creator taking a low-quality screenshot of the final video, the editor isolates the specific high-emotion frame directly within their professional editing software (like Adobe Premiere Pro or DaVinci Resolve).
The editor can then use precise masking tools to cut the subject out of the background. Because they are pulling from the raw, uncompressed source file, they can export this isolated asset as a high-resolution PNG or TIFF file. This yields a razor-sharp, crystal-clear image that serves as the perfect foundational layer for a custom thumbnail design, entirely free of motion blur.
Color Grading for the Click (Maximizing YouTube CTR)
Once the perfect frame is isolated, it must be treated differently than the rest of the video. The color grade of your video and the color grade of your thumbnail serve two completely different masters.
Thumbnail Grading vs. Video Grading
As we discussed in our guide on Color Grading vs. Color Correction, the color grade of a video is designed to establish a mood and maintain a natural, pleasing aesthetic.
The color grade of a thumbnail, however, is designed purely for psychological attention. It needs to be far more aggressive. A perfectly natural skin tone in a video might look washed out and dull when shrunk down to a 2-inch thumbnail on a phone screen.
Weaponizing Color Contrast
To maximize your youtube ctr, the subject must visually separate from the background. Editors achieve this by manipulating the color wheel. If the subject is wearing a blue shirt, the editor might push the background toward a warm orange or yellow. This complementary contrast forces the subject to "pop" off the screen in a three-dimensional way.
Brightness & Saturation for Dark Mode
You must design for the environment where your thumbnail will be viewed. Millions of users browse the YouTube app in "Dark Mode" (a black or dark gray background UI).
To ensure your thumbnail doesn't blend into the shadows of the app interface, the isolated thumbnail asset must have its overall luminance (brightness) and color saturation artificially boosted. It might look slightly "overcooked" or too vibrant when viewed full-screen on a computer monitor, but it will look perfect when compressed and placed in the dark mobile feed.
Iteration and A/B Testing Assets
Because the algorithm is constantly shifting and human psychology is unpredictable, you should never bet the success of a massive video project on a single image.
The Rule of 3
When you mandate that thumbnail generation is a core part of the editing process, you unlock the ability to iterate. You should require your post-production team to pull at least three different "thumbnail moments" from the raw footage during the edit.
For example, if you are publishing an educational video, your editor should provide:
-
One high-res frame of the subject pointing directly at the camera.
-
One high-res frame of the subject looking confused or thoughtful.
-
One high-res frame of a striking B-roll element or an on-screen graphic used in the video.
Leveraging YouTube's Native A/B Testing
YouTube recently rolled out native "Test & Compare" A/B testing for thumbnails, allowing creators to upload up to three thumbnails at launch. The algorithm serves them evenly to the audience, tracks the data, and automatically selects the highest-performing image.
If you wait until the last minute to make a thumbnail, you will only have one option. If you integrate asset extraction into your editing workflow, you will arrive at launch day with three distinct visual strategies ready to test, practically guaranteeing a higher engagement rate.
In Conclusion
Your video edit and your thumbnail are not two separate projects; they are a single, holistic ecosystem.
When you treat your visual packaging with the same respect, time, and financial investment as your narrative storyline, you stop leaving views on the table. Stop taking blurry screenshots. Start designing your visual promise before you shoot, and empower your editor to actively hunt for the highest-converting frames while they build the timeline.
Want a post-production team that actually understands the algorithm?
At Editing Machine, we don't just cut footage. Our editors are trained to proactively identify, isolate, and color-grade high-resolution thumbnail assets as a standard part of our workflow.
Using our native client portal, you can easily review, select, and request changes to these assets before the video is even finalized. Create your account today and get the operational support you need to dominate the click.
FAQ
Q: What is a good YouTube thumbnail strategy?
A: A highly effective youtube thumbnail strategy involves planning the visual concept before filming, and proactively extracting high-resolution "thumbnail moments" during the video editing process itself. Rather than relying on blurry, last-minute screenshots, you must isolate frames with high emotional expressions and apply specific, high-contrast color grading to make the image stand out on small mobile devices.
Q: How do thumbnails affect click through rate?
A: The thumbnail is the single most critical variable in determining your click through rate (CTR) on any video platform. Before a viewer can evaluate the quality of your video editing or your script, they must be convinced to click. A compelling thumbnail with strong visual contrast and emotional resonance directly increases the percentage of people who choose to watch your video when it appears organically on their feed.
Q: What is a good YouTube CTR?
A: While average metrics vary drastically by niche, target audience, and video length, a standard youtube ctr for most channels sits between 2% and 10%. According to YouTube, half of all channels and videos have an impressions CTR that ranges between this 2% and 10% benchmark. By integrating a holistic thumbnail extraction process into your post-production workflow and utilizing A/B testing, you can aggressively optimize your visual packaging to consistently push toward the higher end of that spectrum.
More from the Blog
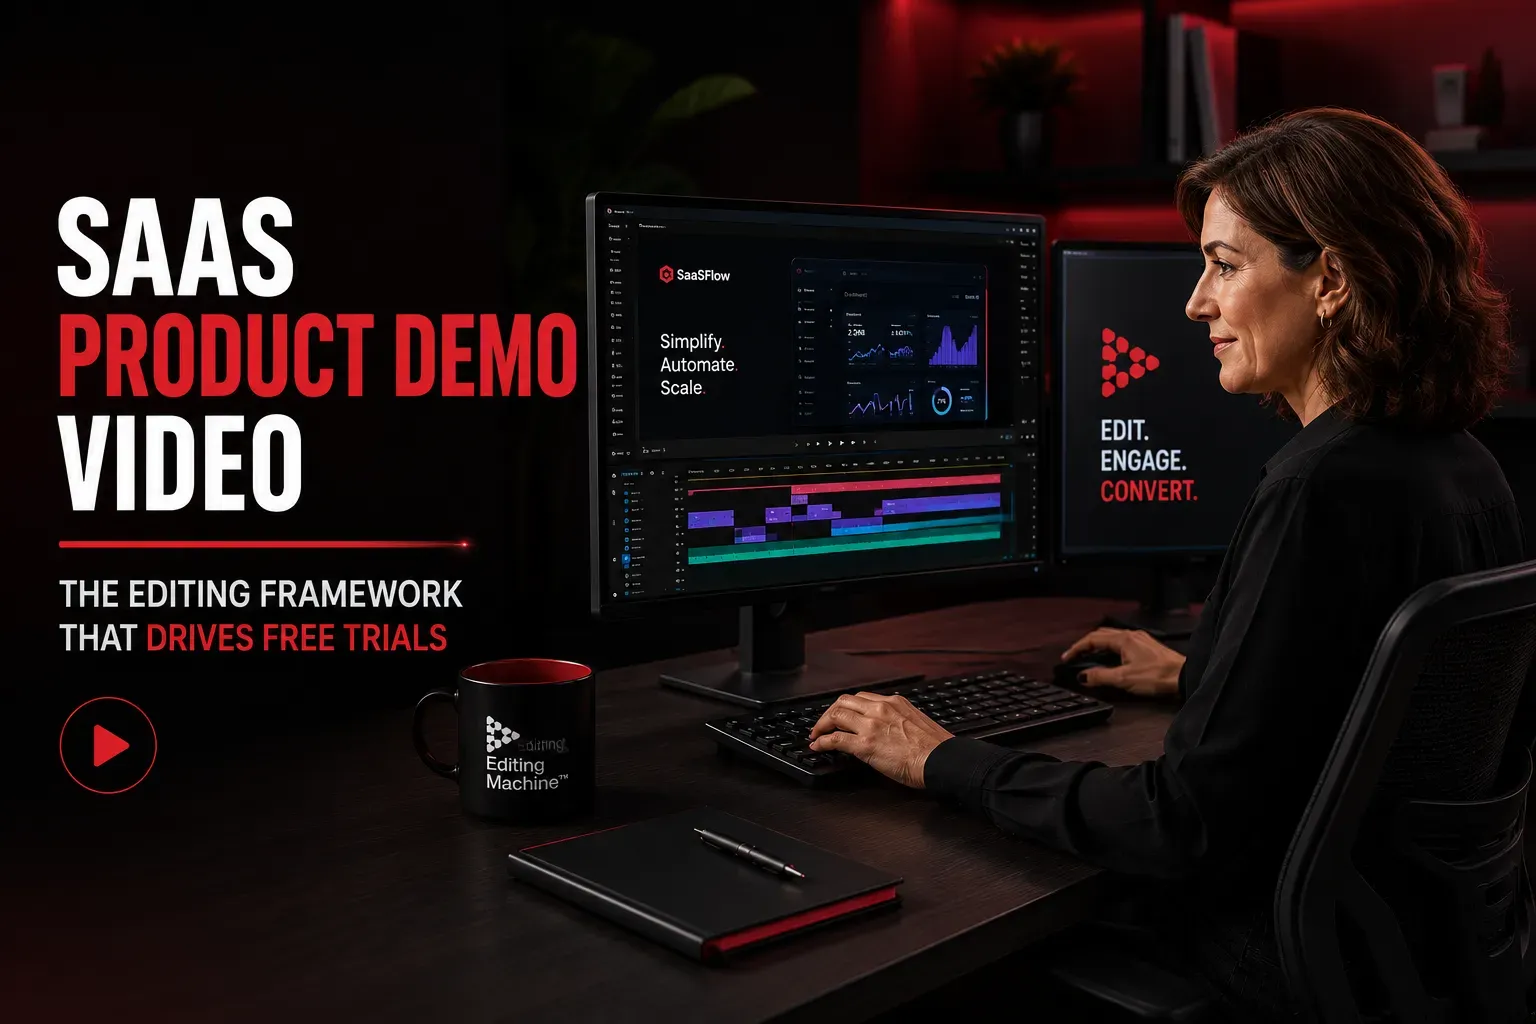
SaaS Product Demo Video: The Editing Framework That Drives Free Trials
A SaaS product demo video that shows everything the product does is not the same as one that makes someone want to try it. This guide covers the editing framework that bridges the gap between a screen recording and a conversion asset, including the three demo formats every SaaS product needs and how to produce them efficiently from a single recording session.
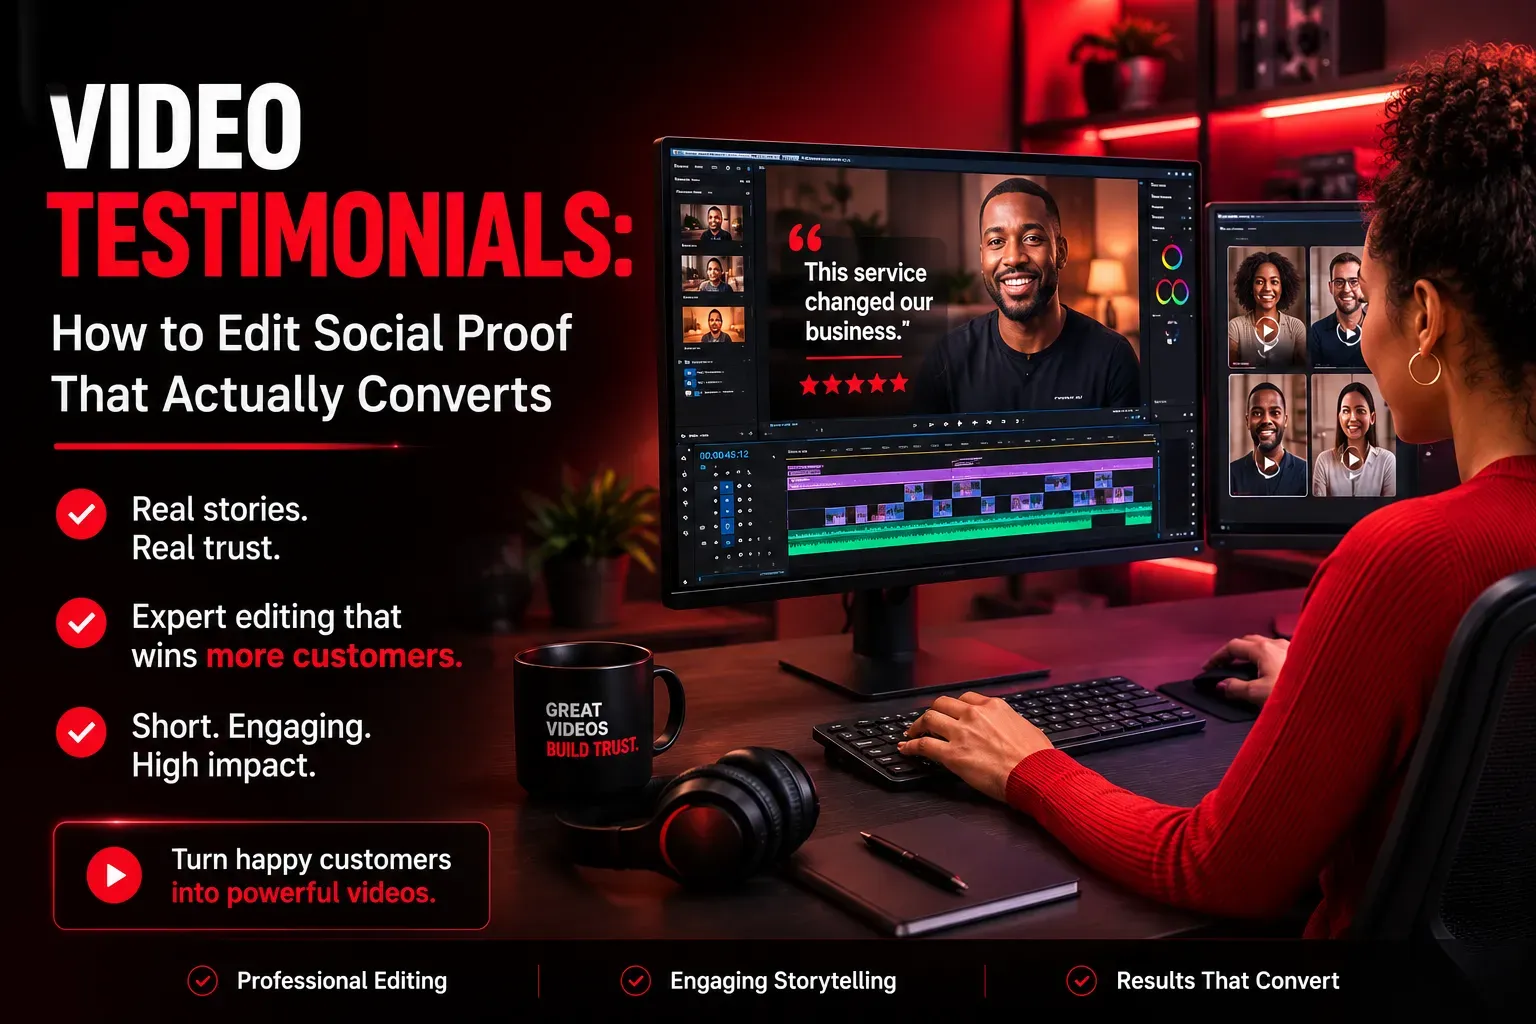
Video Testimonials: How to Edit Social Proof That Actually Converts
A badly edited testimonial is worse than no testimonial. Over-produced customer videos read as scripted. Under-edited ones lose viewers before the key result is stated. This guide covers the editing approach that preserves the authenticity that makes testimonials convert while removing the rough edges that make them unwatchable.
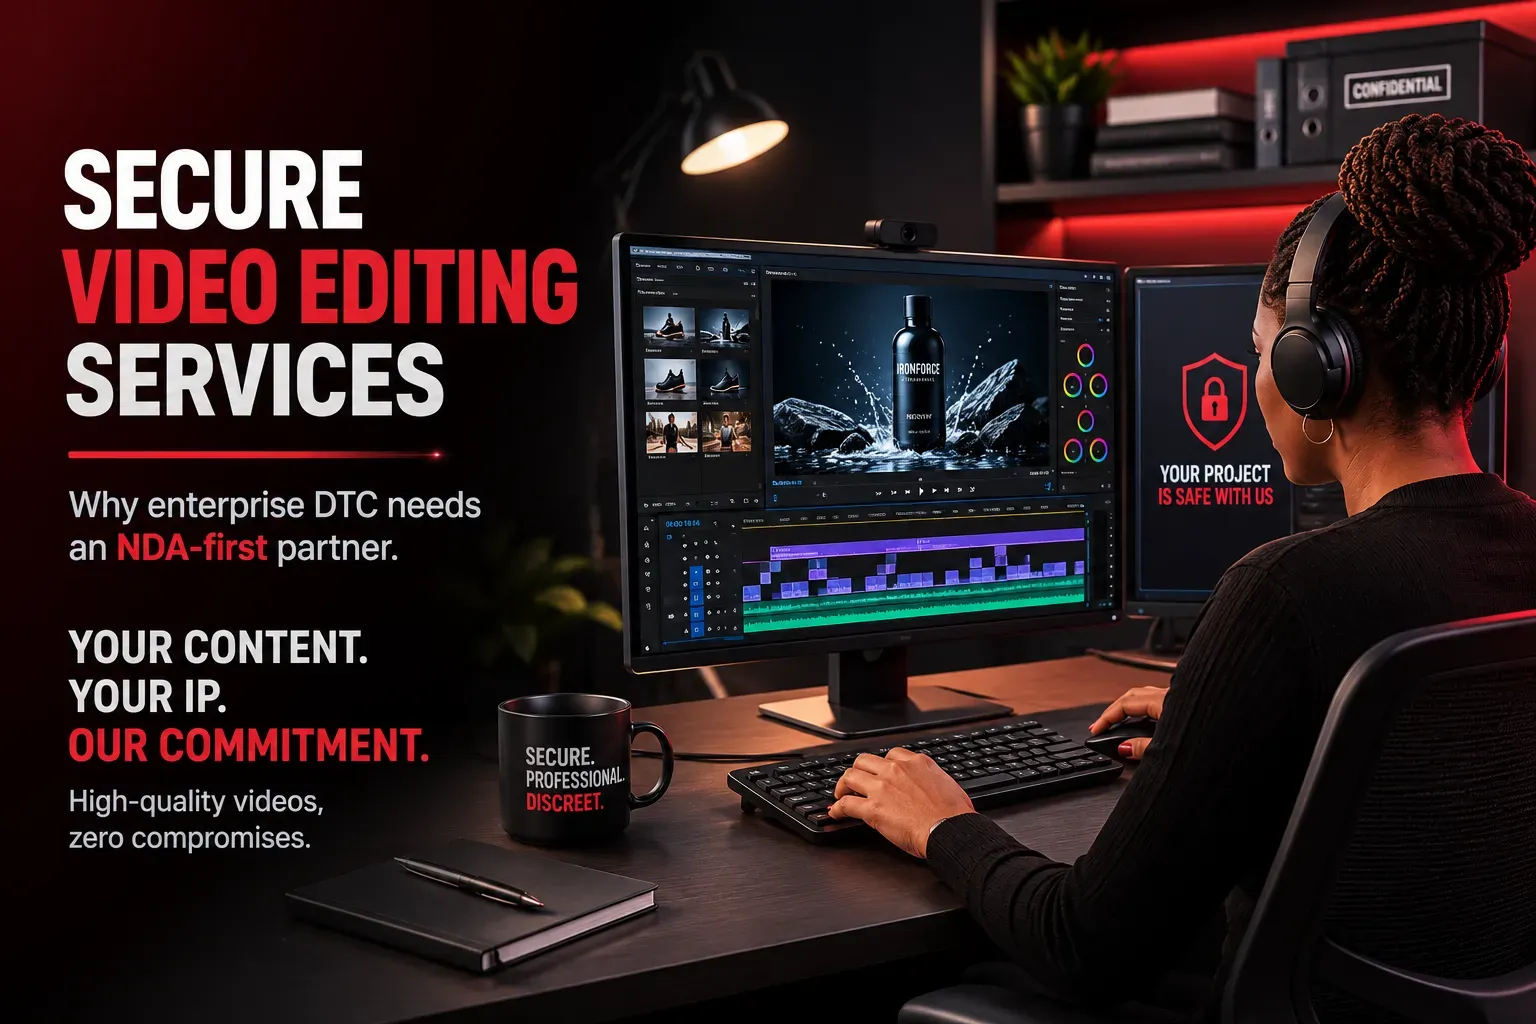
Secure Video Editing Services: Why Enterprise DTC Needs an NDA-First Partner
Most video editing services have no formal position on confidentiality. Your raw footage, unreleased product campaigns, and creative strategy sit in someone else's cloud storage under terms you have probably never read. This guide covers what a genuinely secure, NDA-first video editing partner looks like and the five questions you should ask before handing over a single file.
See if Editing Machine is the right fit for your content.
Take 90 seconds to tell us about your goals, content style, and volume. We'll show you which setup fits and exactly where to start.