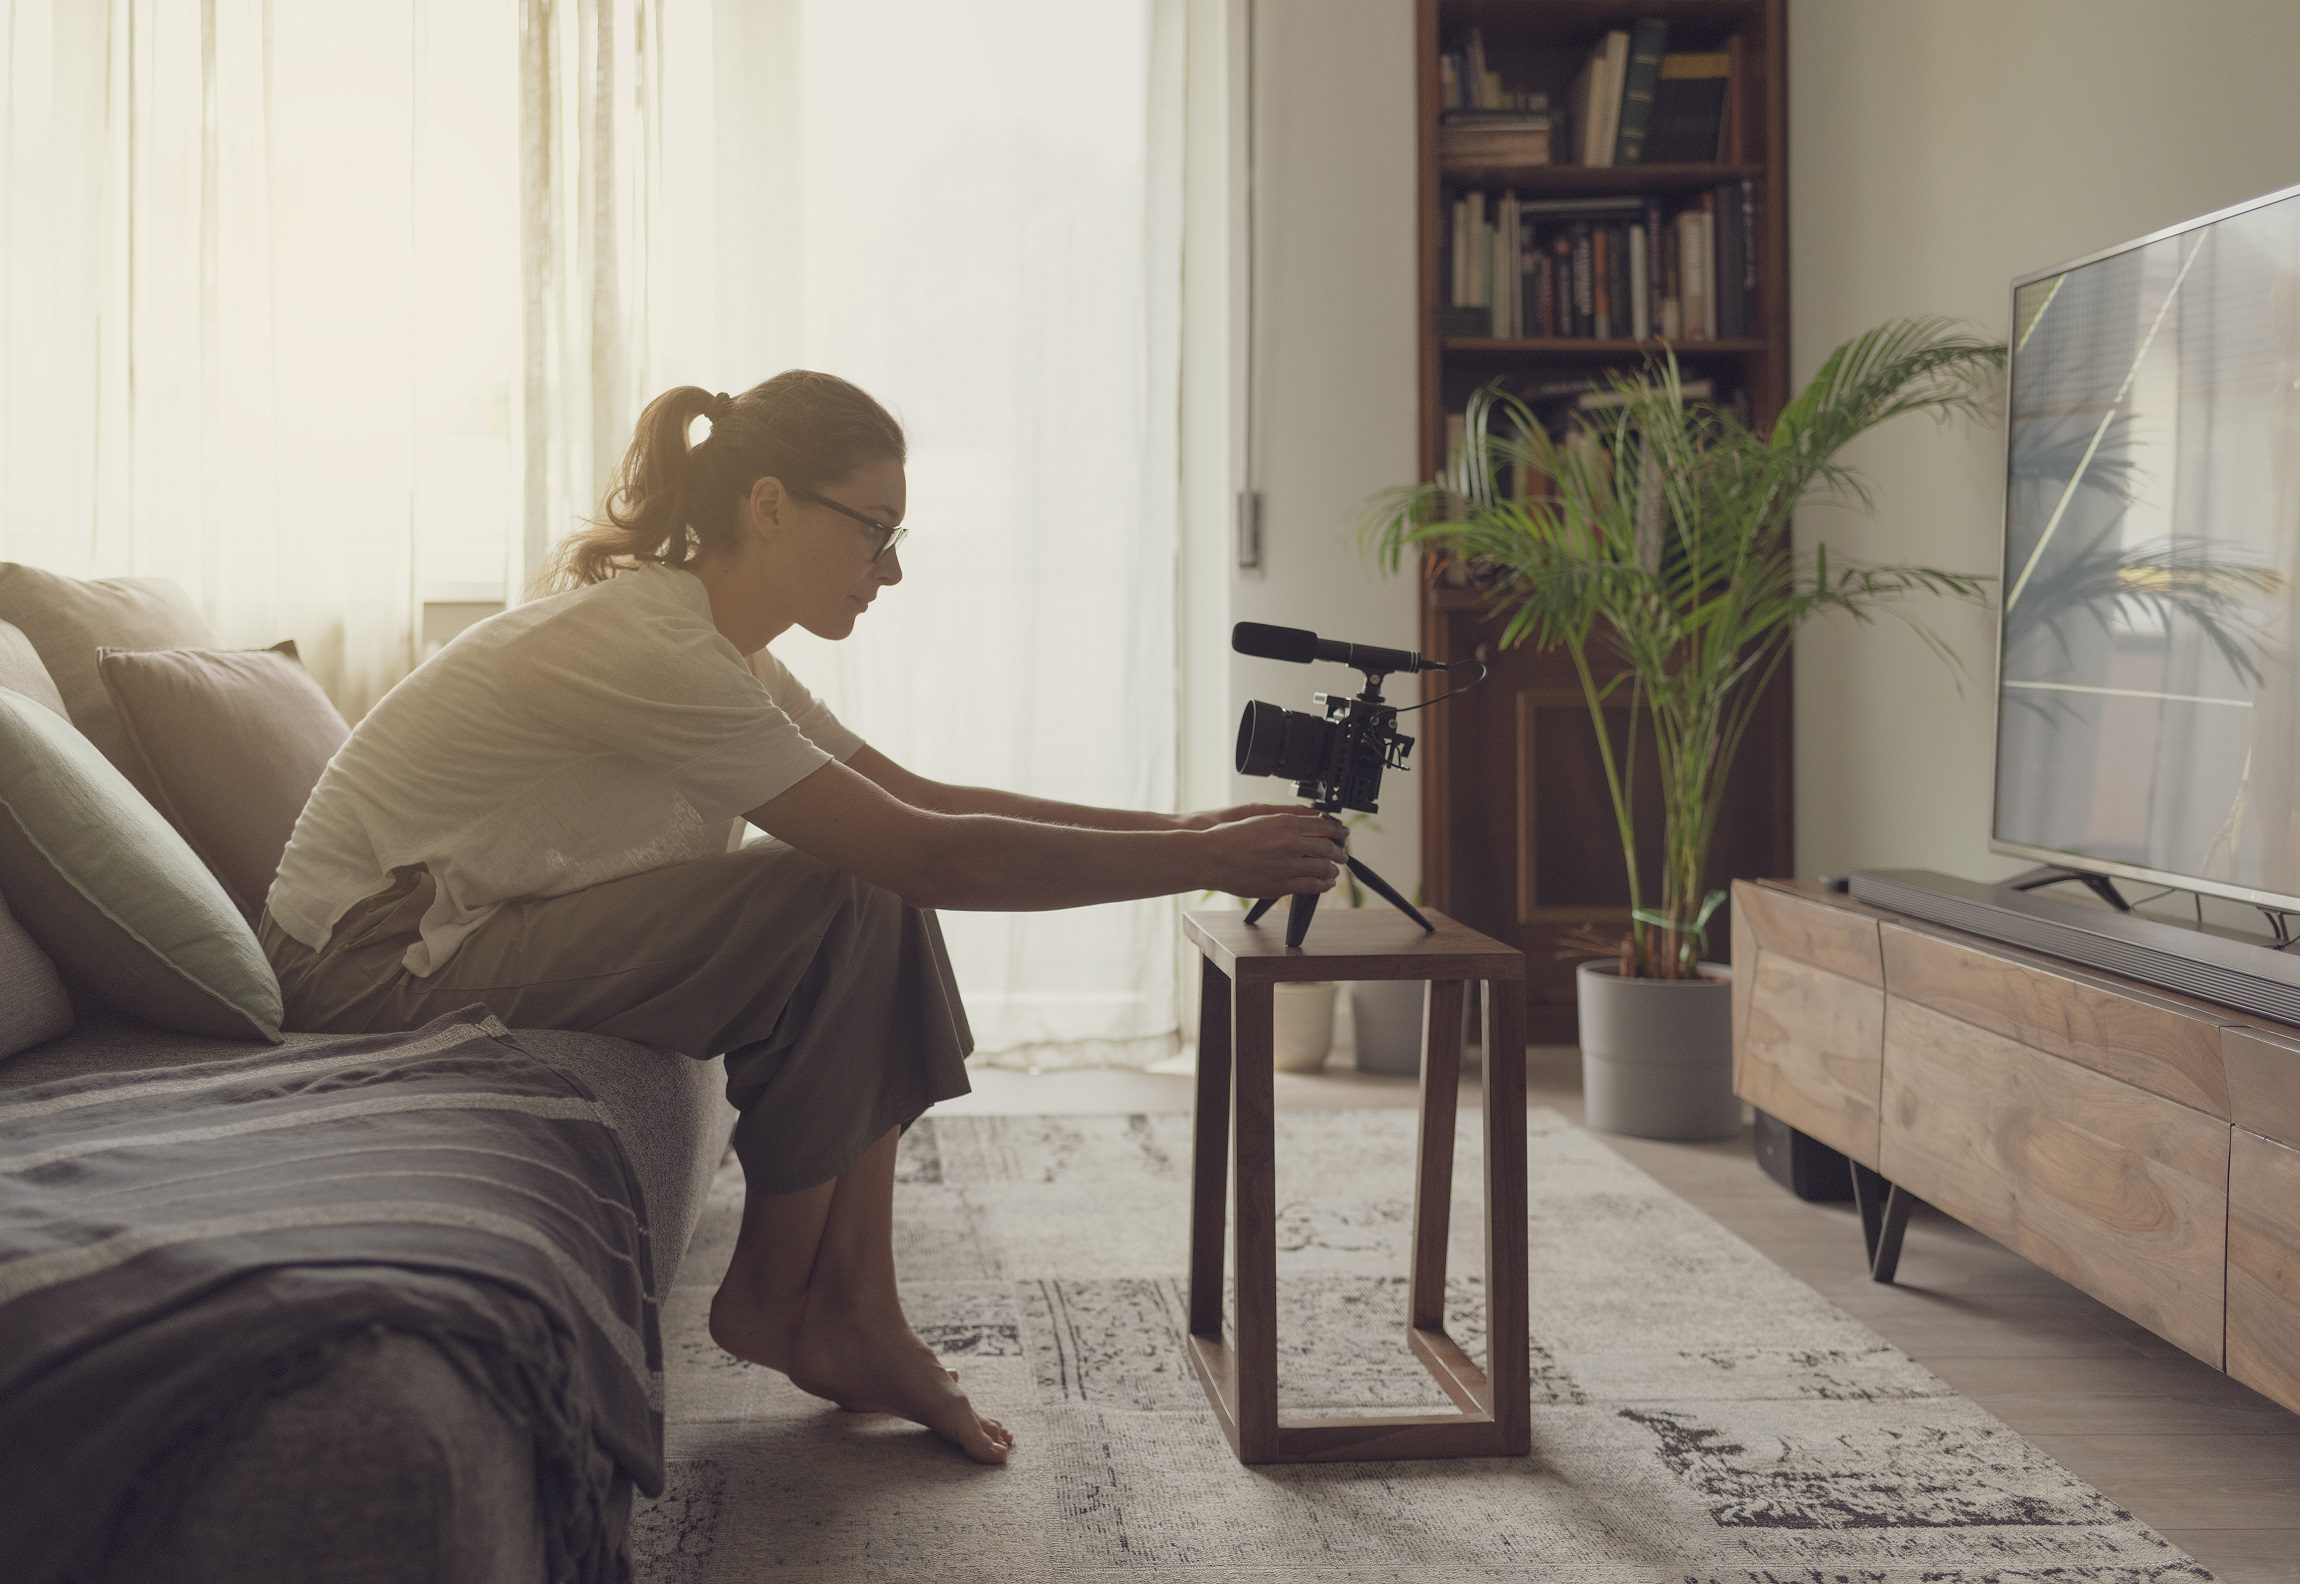
One of the most significant determinants of success when creating a YouTube video is the lighting and framing of the video. While good lighting creates the mood of your video, the framing controls the composition of your content. These two aspects are very important for holding the attention of your audience.
The lighting and framing of your video play a critical role in attracting viewers and subscribers to your YouTube channel. Therefore, you need to define the mood and content you want to convey before creating your video to avoid conveying different messages to the viewers. This article shares a few tips on setting the lighting and framing your video when creating your content.
Why is Lighting Important?
Good lighting is much more than whether the subjects in your video can be seen or not. Your viewers can experience different feelings from the type of light you use and the styles and intensity of light.
For example, if you want your video to have a dramatic effect, you could use the back and side lighting. However, if you create content that requires a bit of professionalism, then using them from lighting is the best type of lighting because it has fewer shadows.
What Lighting Techniques Can I Use for my Video?
There are several tools that you can use to create a mood of a scene. You can try to get the perfect mood by increasing or decreasing the intensity of the light. You could also obscure part of the lighting with a shade to give your subjects a softer look or shine the light through a diffusion sheet.
If you want to create a professional look, you could achieve this by intensifying the backlight, which puts a glowing edge on the screen. A bounce card is the best way of achieving a highlighted glow or even out the light’s quality.
Besides that, if you want to shoot your video outdoors, you should take advantage of natural lighting from the sun. However, not all times of the day produce good light. The best sunlight is experienced in the late afternoon and early morning. So shooting your video between noon and 3 pm when the sun is overhead is not recommended because it produces an unflattering effect.

What Lighting Setups Should I Use for My Video
You do not need to break the bank to get the perfect lighting if you have limited resources. Some of the best videos on YouTube are made using a natural lighting setup. A simple lighting setup like a lamp or a lighting kit could also give your video a polished feeling if you are indoors.
You do not need a complicated lighting setup. As long as your setup has the three-point lighting, which combines fill light, key light and backlight. The key light is placed on one side of the camera; the fill light creates a diffused light that fills in the shadows and backlight, separating your subjects from the background.
Although the tips above give you a head start on the tasks, if you are a beginner, this task may turn out to be quite intimidating for you because there is a huge difference between how you and the camera lens perceive light. Why is this so? Because Cameras need a lot of light to produce high-quality images. Moreover, you need to set lenses in the perfect position to get good videos.
How to Set Up the Lighting
This is easy…

- Before you start shooting, make sure you have enough lighting, natural or artificial lighting.
- Ensure that your subject’s face is evenly lit with no shadows.
- If you are not pleased with the lighting, you can change it by adjusting the location of the light source.
- If you have limited resources, you can try shooting the video with the lens positioned in front of your window.
- The light from the window should shine on your subject’s face.
- If the weather is cloudy, you can get the perfect lighting setup through cheap ring light setups.
How to Get the Perfect Video Lighting Setup
Step 1: Prepare for the shooting area.
Look around your location before you begin the shoot. Check whether the natural lighting is casting shadows. If not, proceed with the shoot but be wary of the constantly changing weather, which can affect the lighting as you shoot. Be prepared to adjust the lighting to keep it consistent as the weather changes.
If you have the means, try to get equipment that will enable you to get as much control of the shooting environment as possible.
Step 2: Choose a Lighting Type
If you want a lighting setup on a budget, natural lighting is a good option, but if the inconsistency of this type of lighting affects you, you can get cheap clamp lights. These lights will assist you in eliminating unwanted shadows.
However, you should ensure that they have the same brightness and temperature for consistency. If you find this task challenging, our YouTube Editing agency can assist you in getting it done to perfection.
Types of lighting
Hard Light: This Lighting has no filter. It is light that comes directly from the source without being shades. This sort of lighting is much brighter. It can therefore be harsh on a setup by casting deep unwanted shadows.
Soft Light: This type of light comes from a shaded source. Shading the light can be done through a frosted shower curtain or other creative materials that could help you achieve your goal. Using shades allows the lighting to bounce off a surface like a ceiling or a wall to create soft lighting that gives a flattering look to the image of your subjects.
Mid-range Lighting: If you have resources, you could get a good quality lighting kit. You may pay much more for it, but you will also have the ability to control the lighting in your shoot through fancy features such as the ability to diffuse light and change colour. This tools could also give you a stronger output.
Step 3: Set up the 3-point lighting.
This lighting setup consists of key light, fill light and backlight. When setting this lighting, position your subject at six on the clock. The key light should be at four on the clock, the fill light at eight and the backlight between one and two o’clock.
Step 4: Choose the right light colour temperature.
Lights do not give off the same temperatures. Some light sources give off cool temperatures while other give off warm temperature. To achieve a warm feeling, use lights with a deeper yellow hue and white or light blue hues to give off a cool atmosphere.
Step 5: Be wary of the glare
If you use more direct light, you might have a glaring issue in your setup. This problem can be fixed by raising the lights higher on their stands until the light is no longer visible in your camera’s lens. You could also try moving your fill and key lights further out while keeping them equal to one another.
The Basics of Framing
Framing your video correctly is just as important as perfecting your setup lighting. Everything that appears within your screen communicates a message to your viewers. To prevent capturing unnecessary subjects in your video, control the composition of your screen by adjusting the camera angle, subject distance and focal length.

Tips for framing your video
Apply the rule of thirds when framing.
Divide the frame into thirds horizontally and vertically. Your subject should be placed at the intersection of the three frames. Doing this eliminates shifting the viewers’ attention to other objects other than the main point of interest.
Balance the frame.
If you want to place equal weight on each side of the frame, for example, when two people speak directly into the camera side by side, it is best to use symmetry.
Consider the Depth
Ensure that the right subject is focused on the background, mid-ground and foreground to give the video the right look and feel. You can do this by trying out multiple compositions to get the perfect depth.
You will also find these additional tips handy when framing your video;
- Keep your audience engaged by diversifying your shots.
- Use autofocus when shooting objects in motion.
- Keep saving your footage when editing and back it up as soon as complete to avoid losing the data after putting so many hours into it. The uncompressed video could take up a lot of space and affect the processing speed of your computer. So consider backing it up in a reliable backup system.
Bottom Line
We hope that his tips will give you a head start when you are setting the lighting and frame of your video. However, it is often easier said than done. So if you experience challenges when fixing the lighting or frame of your video, do not be discouraged. Our YouTube agency could assist you in getting it right with ease!