Video Testimonials: How to Edit Social Proof That Actually Converts
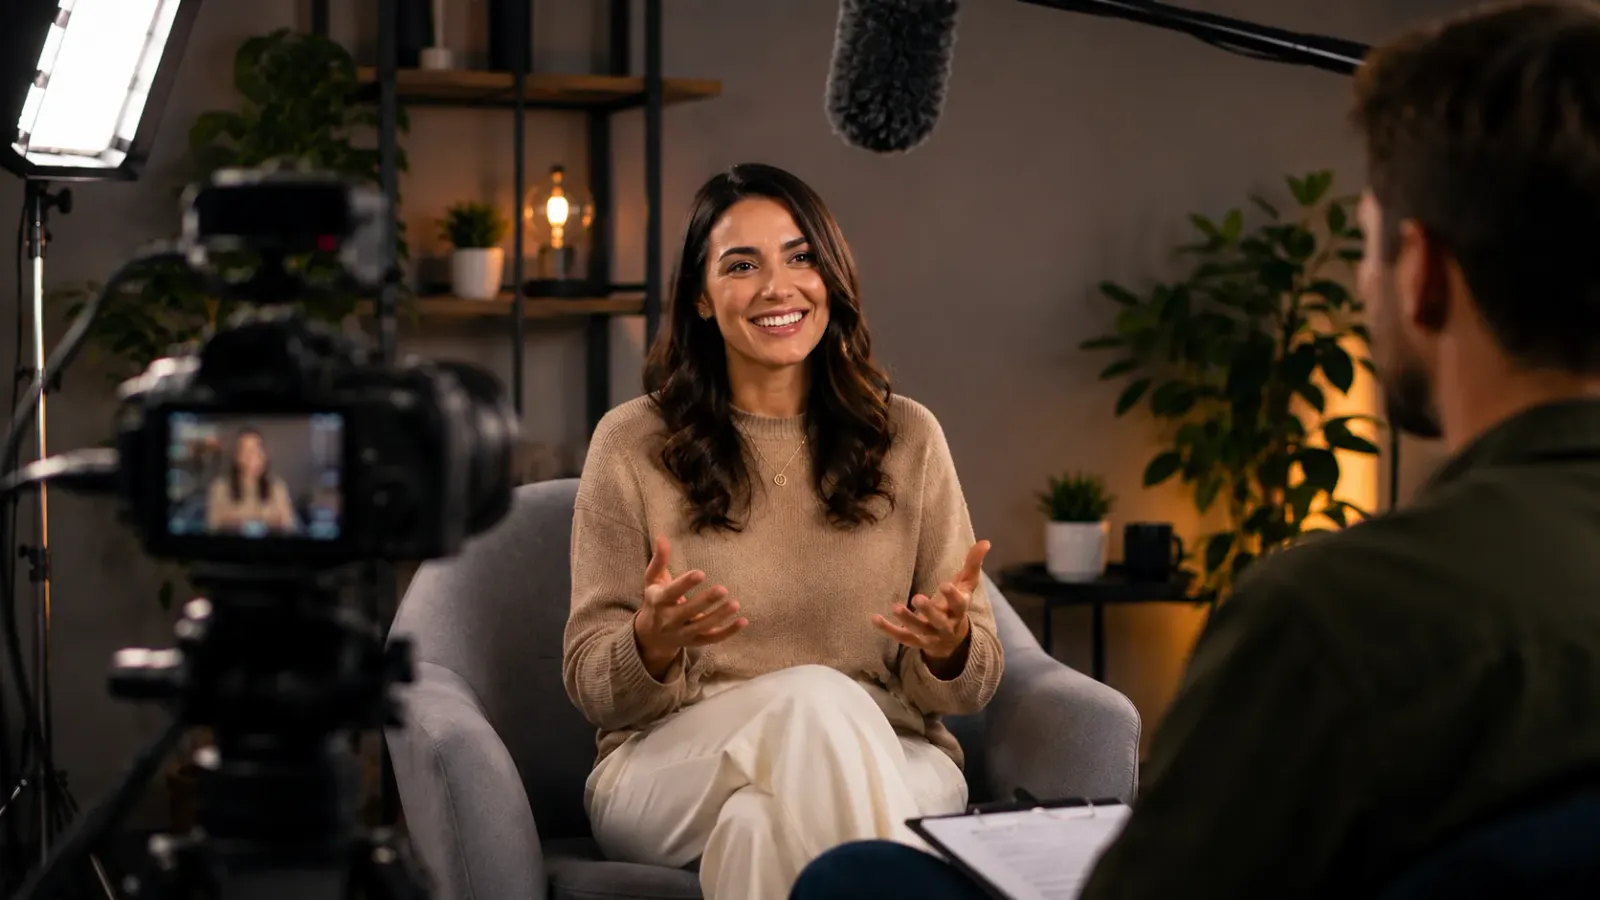
A badly edited testimonial is worse than no testimonial. Over-produced customer videos read as scripted. Under-edited ones lose viewers before the key result is stated. This guide covers the editing approach that preserves the authenticity that makes testimonials convert while removing the rough edges that make them unwatchable.
Video Testimonials: How to Edit Social Proof That Actually Converts
What Is Video Testimonial Editing? Video testimonial editing is the process of transforming raw customer interview footage into a polished, platform-appropriate social proof asset that retains the authenticity and emotional credibility of the original recording while removing the elements that make unedited footage unwatchable: long pauses, filler words, tangential comments, and technical issues. The editing approach for testimonials is conservative by design, because over-production removes the trust signal the video exists to convey.
Key Takeaways:
Authenticity Is the Asset: A testimonial that looks too produced reads as scripted and loses the trust signal it was supposed to create. The editing standard is watchable and clear, not cinematic.
Lead with the Result: The opening five seconds of a testimonial should state the outcome the customer experienced, not introduce who they are. Most buying decisions are made in the first few seconds of a video.
Format for Every Channel: A single testimonial recording should produce a landing page version, a paid social cut, and a short-form Reels or Shorts clip from the same edit session.
Why Most Video Testimonials Underperform
Video testimonials are one of the highest-converting content types a brand can produce. Research consistently shows they outperform written reviews for purchase intent, and they outperform brand-produced ad creative for trust. Yet the majority of brands treat them as an afterthought, recording a customer on a phone and uploading the raw file directly to a website or social channel.
The result is a video that is too long, starts in the wrong place, has no captions, and loses viewers before the most credible moment of the customer's account. The testimonial exists, but it is not doing its job.
The editing decisions applied to testimonial footage are what separate a video that converts from one that decorates a page. This guide covers the specific editing framework that makes testimonials work across paid social, landing pages, and organic channels.
Chapter 1: The Testimonial Editing Framework
Step 1: Find the Result Statement First
Before making a single cut, watch the entire raw interview and identify the moment where the customer states the clearest, most specific result they experienced. This is the single most important sentence in the entire recording. It is also, almost universally, buried somewhere in the middle of the interview rather than at the beginning.
Whatever editing structure you choose, the result statement needs to appear in the first five seconds of the final cut. Not as a text overlay. As the customer's own words. This is the hook, and it should follow the same discipline covered in our guide on Hook Rate Optimization: Editing for the First 3 Seconds.
Step 2: Build the Narrative Arc
After the result statement hook, a testimonial that converts follows a four-beat structure:
● The problem before: What was the customer struggling with before they found you? This is where the viewer identifies with the speaker.
● The decision: Why did they choose your service? What was the key reason they moved forward?
● The experience: What was it actually like to work with you? This builds trust through process-level detail.
● The result: Restate the outcome with as much specificity as the customer is comfortable sharing.
This structure works whether the testimonial is 60 seconds or 3 minutes. The beats scale to the available time.
Step 3: Edit Conservatively
Testimonial editing has a narrower margin for error than almost any other video format. Cut too little and the video is unwatchable. Cut too much and it reads as scripted. The target is a version that feels like a natural, slightly cleaned-up conversation, not a produced piece of content.
Remove: filler words (um, uh, you know, like), pauses longer than a beat, repeated statements, and tangential comments that break the narrative flow. Keep: natural speech rhythm, small hesitations that convey genuine thought, emotional moments, and any sentence where the customer's delivery conveys feeling rather than just information.
The same authentic editing approach used in UGC ad creative applies directly here. For more on preserving the credibility signal while cleaning up the rough edges, see our guide on UGC Video Editing for Ads: Scaling Authenticity.
Step 4: Add Captions
Captions are non-negotiable for testimonial content. Testimonials are watched in professional environments (offices, between meetings) where sound is often off, and on mobile where autoplay is silent. A testimonial without captions delivers almost no message to the majority of its viewers.
Burned-in captions on testimonials should use a readable font at a large enough size to be legible on mobile, and should be styled to match the brand, not default white text on a black bar. For the engagement data behind caption impact, see our research piece Captions vs. Subtitles: Engagement Impact Study.
Chapter 2: Platform-Specific Versions from a Single Recording
A single testimonial recording should produce at minimum three distinct deliverables, each optimized for its context:
Version | Format | Length | Primary Use | Key Editing Consideration |
Landing Page | 16:9 horizontal | 90 sec to 3 min | Website product or service page | Longer arc, full four-beat structure |
Paid Social (Meta / YouTube) | 1:1 square or 9:16 | 30 to 60 sec | Retargeting and prospecting ads | Result hook in first 5 sec, captions mandatory |
Short-Form (Reels / Shorts) | 9:16 vertical | 15 to 30 sec | Organic social and discovery | Most specific result only, fastest pacing |
Email Thumbnail | 16:9 with play button | Links to full version | Email campaigns to warm leads | Static image with play button overlay |
Each version starts from the same master edit and is adapted for its context rather than re-edited from scratch. This approach is the same multi-format extraction method used across all direct response creative production. For the broader framework, see our guide on The Perfect Creative Brief Template for Direct Response Video.
Chapter 3: Brand Consistency Across a Testimonial Library
As a testimonial library grows to five, ten, or twenty customer videos, consistency becomes a meaningful production challenge. Each video was shot in a different location by a different person with different lighting and audio conditions. Without a documented editing standard, the resulting library looks like a collection of random customer videos rather than a coherent set of brand assets.
A Brand Profile that specifies the caption style, lower-third format, color treatment approach for variable-quality source footage, music style (or music-free standard), and outro sequence ensures that every testimonial in the library reads as part of the same brand identity regardless of when or where it was shot. For the full framework on building this documentation layer, see our guide on The Brand Bible Strategy: How to Lock In Consistency.
Frequently Asked Questions
Q: How long should a video testimonial be?
A: 60 to 90 seconds is optimal for paid social and landing pages. Longer testimonials (2 to 5 minutes) work well for case study content on YouTube or a dedicated case studies page, where the viewer is already invested in evaluating the brand.
Q: What makes a video testimonial convert better than a written one?
A: Video testimonials convey trust signals that text cannot replicate: tone of voice, facial expression, and the visible emotion of a real person describing a real result. Studies consistently show video testimonials outperform written reviews for purchase intent on product and service pages.
Q: Should video testimonials be edited or left raw?
A: Testimonials should be edited, but conservatively. Remove long pauses, filler words, and tangential comments. Keep the natural speech rhythm and any visible emotion intact. The goal is a version that is watchable and clear, not one that looks produced.
Q: What format should video testimonials be in for social media?
A: For Reels, Shorts, and TikTok: vertical 9:16 with burned-in captions, under 60 seconds, leading with the result in the first five seconds. For LinkedIn and Facebook: square 1:1 or horizontal 16:9, up to 90 seconds. For landing pages: horizontal 16:9, up to 3 minutes.
Turn your customer conversations into a testimonial library that works across every channel. Editing Machine produces landing page versions, paid social cuts, and short-form Reels from a single interview recording. Start Creating Now.
More from the Blog
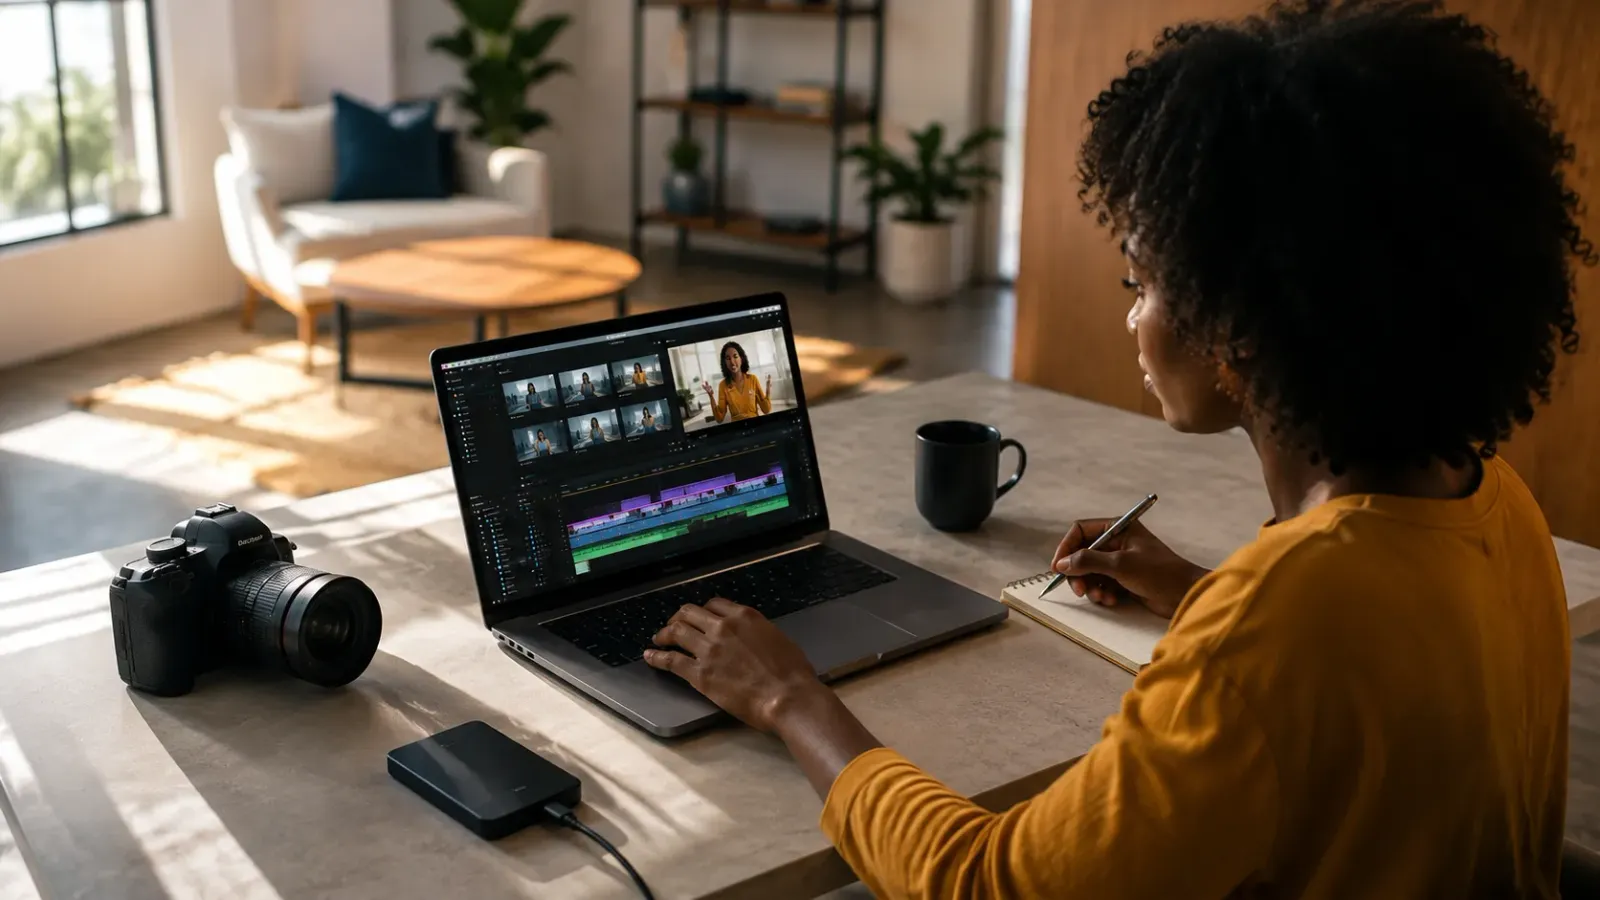
Video Content Repurposing: The 10x Multiplier Framework
Most content creators treat repurposing as something they do when they have time, which means they almost never do it. The 10x Multiplier Framework treats it as the default production model: every recording session is planned with repurposing built in from the start, and every edited asset points toward the next format. This guide covers the full framework and the specific formats each recording type should produce.
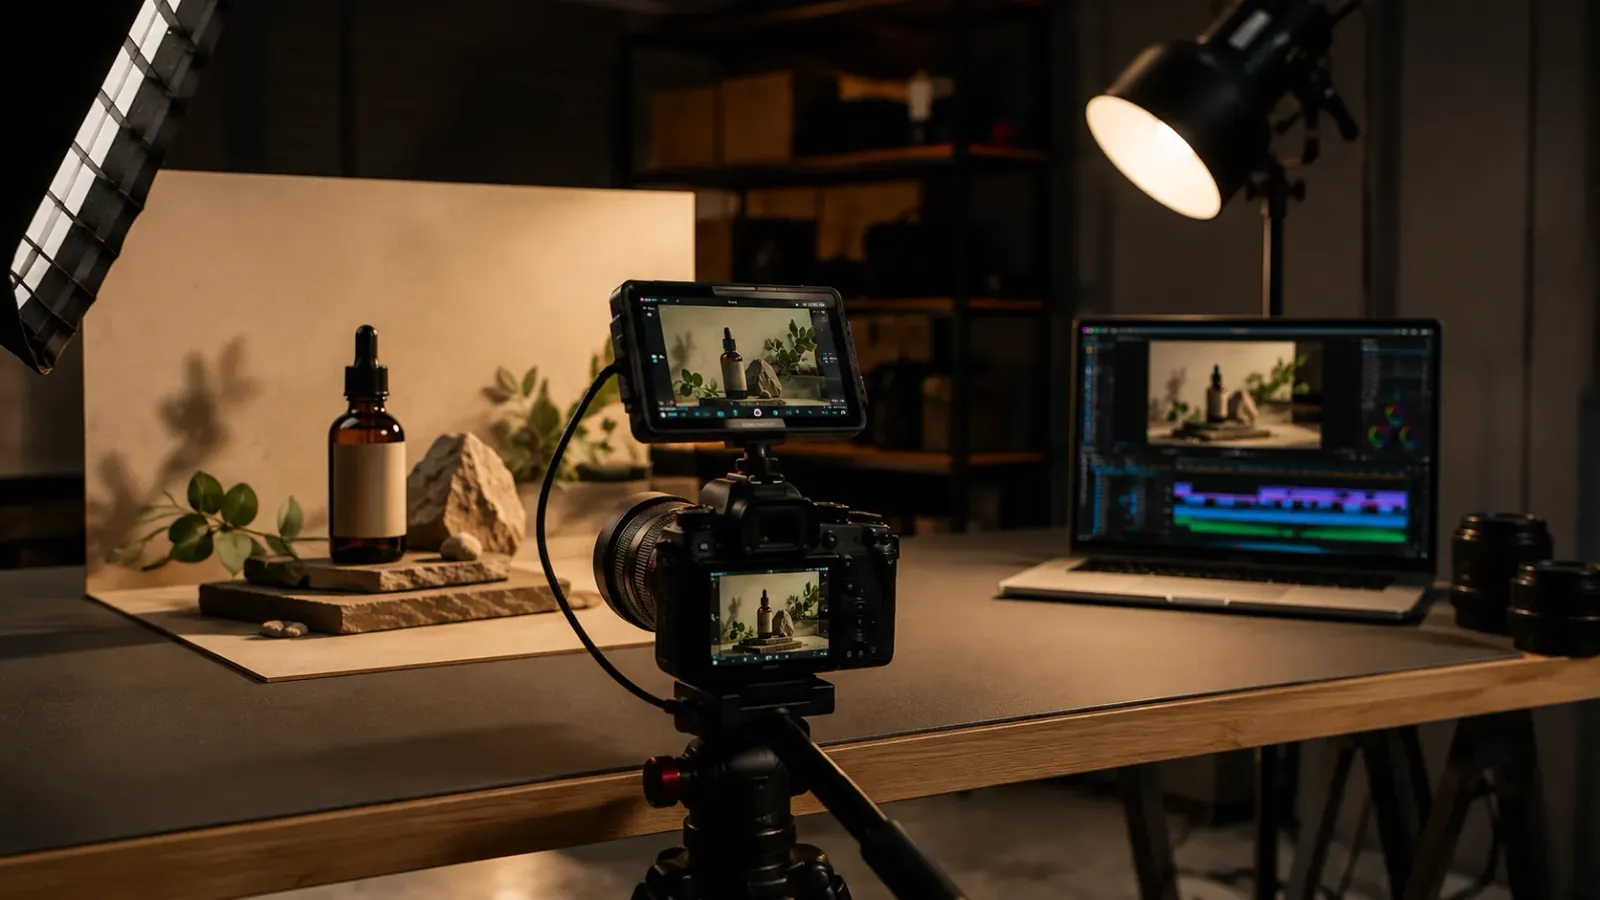
Shopify Product Video: The Editing Checklist That Lowers Bounce Rate
Adding a video to your Shopify product page is not the same as adding a video that lowers bounce rate and increases conversion. Most product videos on Shopify are too long, start too slowly, and are not optimized for silent autoplay on mobile. This editing checklist covers every decision that separates a product video that converts from one that gets scrolled past.
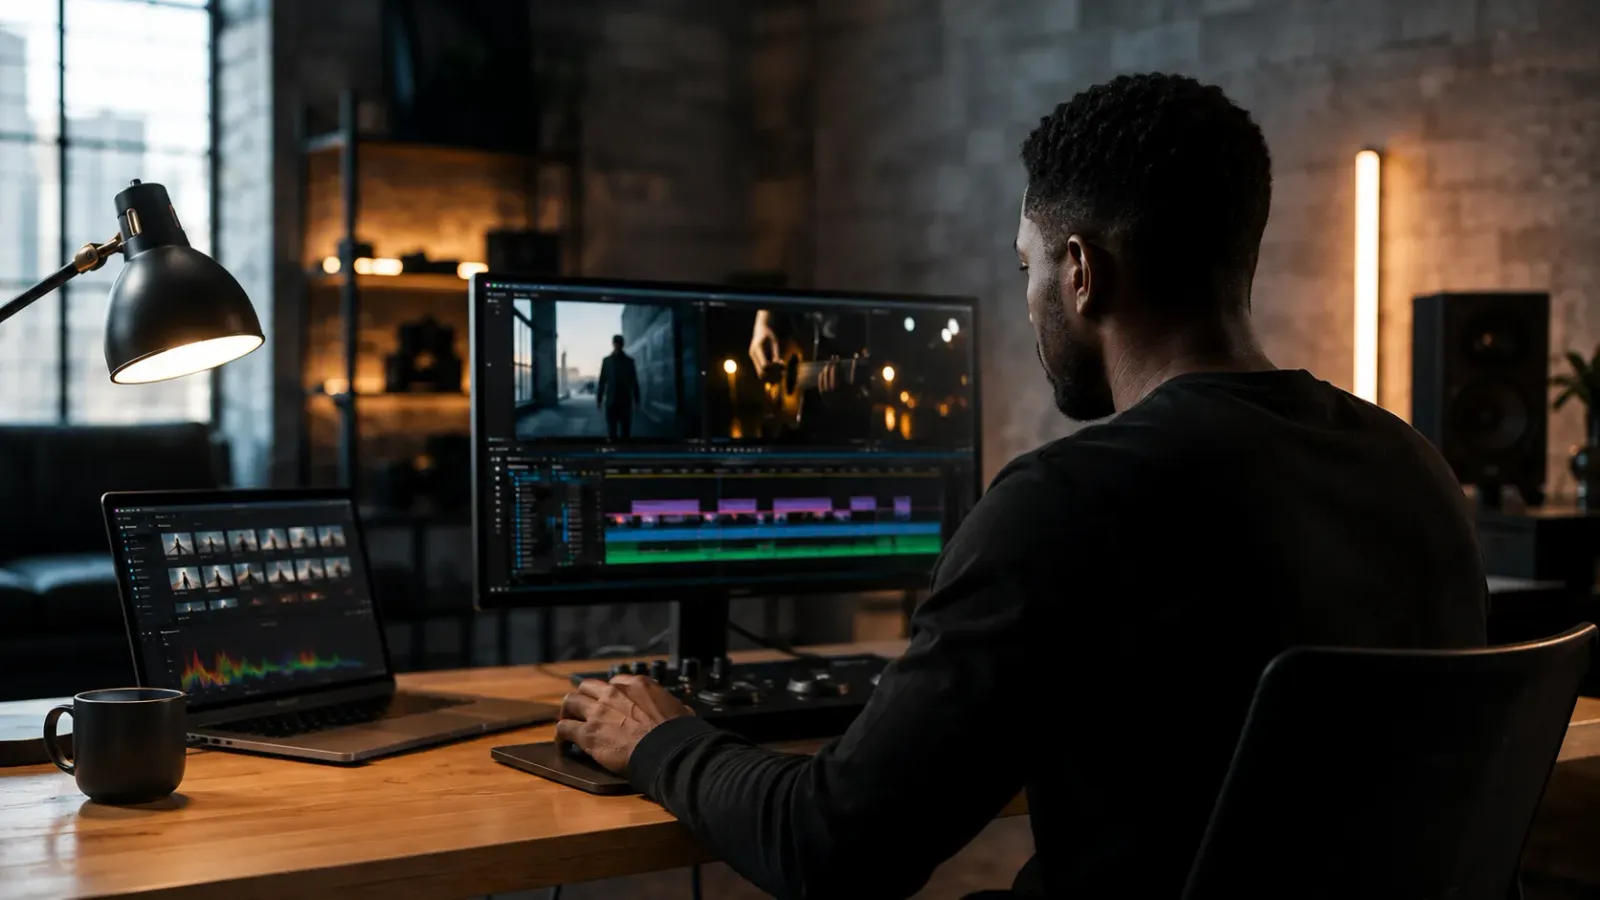
Dedicated Video Editor Service: When a Subscription Beats a Full-Time Hire
Most businesses that are considering hiring a full-time video editor have not run the real numbers. When you include benefits, equipment, software licenses, desk space, and management overhead, a full-time junior editor in the US costs $65,000 to $80,000 per year in total. This guide runs the full cost comparison and identifies the output threshold at which a subscription service wins on economics.
See if Editing Machine is the right fit for your content.
Take 90 seconds to tell us about your goals, content style, and volume. We'll show you which setup fits and exactly where to start.